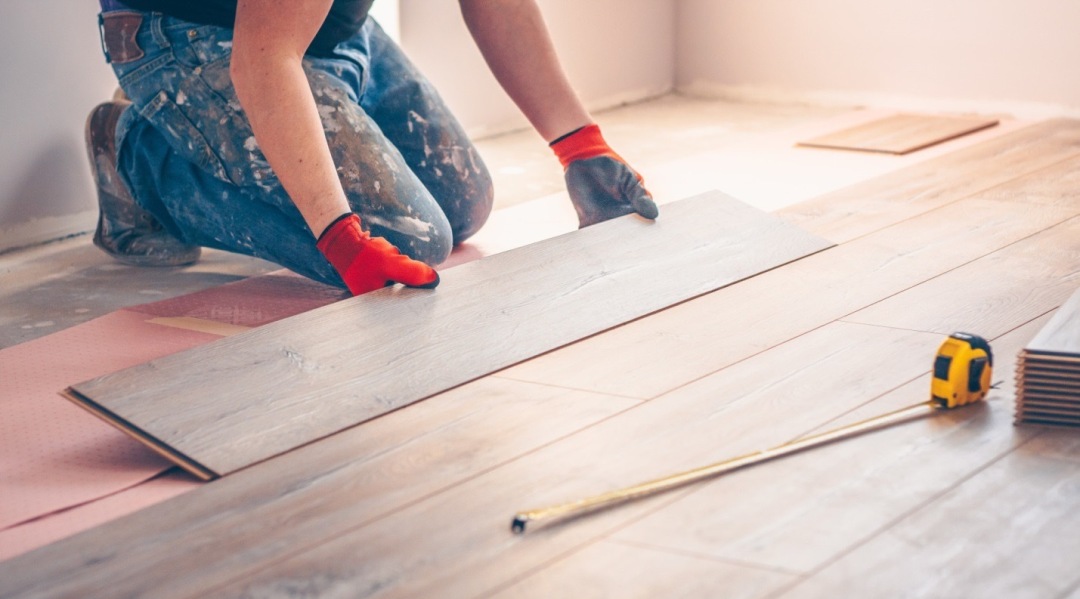
How to Lay Laminate Flooring [Step-by-Step Guide]
August 01, 2022Find out how to install laminate flooring using wood that clicks together. You can build a lovely, long-lasting laminate floor in a couple of weekends without using any unsightly glue or tough nailing techniques. Additionally, it is prefinished, requiring no repetitive sanding in the dust.
Getting the Floor Ready
1) Allow the boards to acclimatize. Place laminate flooring in the room or rooms where it will be placed, in its unopened packaging. To give the laminate boards enough time to acclimate to the temperature and humidity, this should be done at least 48 hours before they are placed. By doing this, the amount that they contract or expand in response to humidity and room temperature is reduced.
2) Examine the moisture content. It is very important to make sure that your area is completely dry before you start because moisture can commonly ruin a perfect laminate floor installation.
On a Protimeter prong test scale, the subfloor moisture content should not be more than 12 percent. To ensure the proper reading, always read the instructions as the different meters will have different scales.
Now use a hygrometer to measure the room's humidity levels. They must range from 45 to 65 percent RH (Relative humidity).
Additionally, the subfloor must be completely level. Another frequent reason why great flooring installations fail is an uneven sub-floor. Make sure the floor has no more than 3mm of dips or humps along a 1 m length by using a spirit level and ruler.
3) The area where the laminate will be installed needs to be well cleaned. You can mop the floor or choose whichever technique you like best. Additionally, make sure the floor is fully dry.
4) Place a moisture barrier down. The floor of the area where laminate flooring will be installed should be covered with underlay. Use an adhesive tape that is moisture resistant to tape the plastic together. As you do this, be careful not to overlap because doing so could cause the floor to rise. Run the plastic a few inches up the walls if your floor is concrete (not extending above the floorboard).
5) Set your padding down. The majority of padding and plastic are combined; however, if yours is not, then place a foam floor cushioning over the plastic lining. This will give the flooring a cushion and prevent bulges from being caused by any debris left on the floor, such as small rocks and sand. Additionally, it will stop the floor from cracking or squeaking as people walk on it. Tape down the foam lining after cutting it to fit the floor. The foam should not be allowed to overlap.
Putting the boards down
1) Set the first board in place. Placing a board with the finished side up and the ridge side towards the wall in the upper left corner. The longest wall in the room should be parallel to the boards as they are laid out.
2) Insert spacers. Place a spacer between the board's end and edge and the wall. Spacers can be purchased or made on your own.
They should be about a foot long, 3/16" to 1/4" thick, and L-shaped if you are making your own. For the first two rows, you will require several, possibly six or more.
3) Continue with the second board. The next board should be positioned in the same way, end to end, taking up the next space along the wall. Make the entire first row parallel to the room's longest wall for the best results.
You ensure that the row is level with the walls; make sure to check from the borders of the floorboards to the edge of the wall.
4) Go to the second row now. To make the joints in this row offset (staggered) compared to the first row, shorten the first laminate flooring piece. Tap the following row of boards into the preceding one using a wooden block. The block should be firmly grasped in your left hand while being struck with a hammer with your right hand. It ought to be getting closer between the first and second boards. Hammer away till the gap closes.
5) Be sure to thoroughly fill any gaps between the boards. The boards should remain parallel to the wall by being checked every third or fourth row.
6) You may likely need to trim boards when you reach the other wall or have to work in oddly shaped rooms. Using a table saw, cut the plank to the required length.
To make the boards shorter and narrower, use a table saw, and a sharp mitre saw.
If you cut the boards in the opposite direction, it can be simpler and produce better outcomes.
7) The installation of laminate flooring must include an expansion gap. The installation of laminate flooring must include an expansion gap. The minimum expansion gap advised is 1/4 inch. Remember to bring your spacers! Don't forget to set spacers along all of the room's edges and take them out after the floor has been finished.
8) Complete the floor. Baseboards, thresholds, or other finishing touches like staining might be used to complete your floor. You can cover scratches or holes with specific colors that are supplied at your local home improvement store.


